User story mapping is simple: it’s a visual technique for representing the journey a user takes with a product. The journey is broken into stories that describe features from the user’s perspective. This guide covers what it is, why teams use it, how to run a session in seven steps, and who to involve.
CardBoard is the user story mapping tool featured in Jeff Patton’s book User Story Mapping — so this guide reflects how the practice is actually done, not just the theory.
Try story mapping in CardBoard →
What is user story mapping?
User story mapping is a visual technique to represent the journey a user takes with a product. The journey is broken down into stories, which describe features from the user’s perspective.
Where it came from
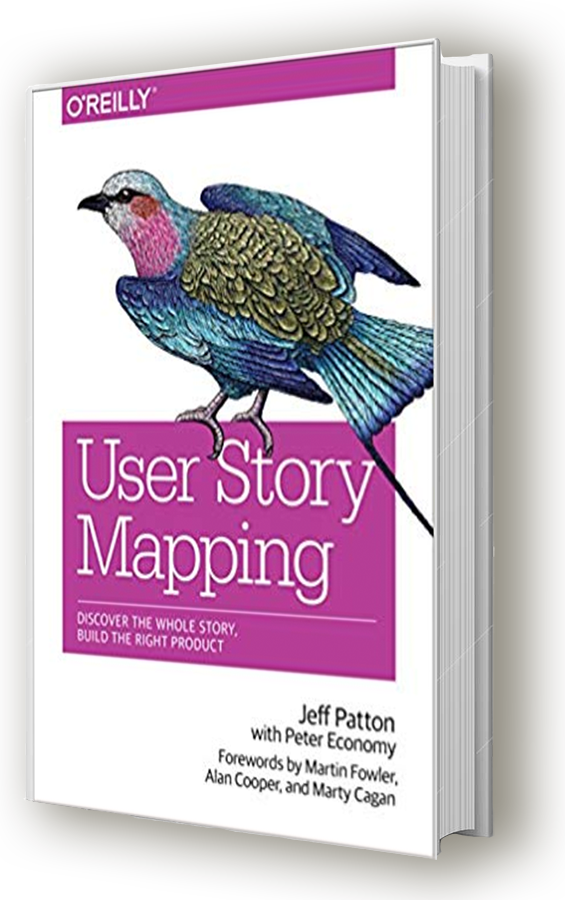
User story mapping originated in the Agile software development community. It was popularized by Jeff Patton, who wrote the book on it. Patton’s friend, the late David Hussman — a well-respected Agile coach — also contributed to the concept. Both advocated for user story maps as a better way to work with Agile user stories.
Why teams use it
- See what needs to be done. A story map shows the context of what’s needed for a user to accomplish their objective — unlike one-dimensional backlogs that miss the forest for the trees.
- Monitor progress. Grouping tasks into outcome-focused slices lets the team see exactly how much work is left to reach an outcome, and shows stakeholders scope and impact in real time.
- Prioritize what users value. Organizing stories around the user’s experience keeps development aligned with what users actually need, and prevents discarding stories that seem minor alone but are essential within the larger journey.
- Collaborate as a team. A shared visual narrative helps everyone understand how their tasks fit the broader user experience, producing cohesive decisions and faster problem-solving.
- Forecast timelines. Visualizing the product narrative surfaces tasks and dependencies, spotting opportunities and red flags so teams forecast more reliably.
The essentials of a story map
The structure of a user story map puts you in your user’s shoes. At a high level, a story map is built from three things:
The backbone
The top of the map is made of activities that group the tasks below them. These summaries make it easier to discuss a map without going over every detail.
The body
The body is made of tasks — the actions a user takes while using the product — along with relevant details and alternative ways to perform a task.
Release slices
Horizontal lines cut across the map as swimlanes. They prioritize tasks by grouping them according to specific outcomes, so you can plan what to build first.
How to create a user story map
Running a session seems simple at first glance, but it’s a deceptively nuanced technique. For best results, follow these seven steps.
Step 1 — Define your user and their goal
Identify your user and the primary goal they want to achieve with your product. This sets the context for the whole session and keeps you user-centric — whether your users are external customers or internal teams.
Step 2 — Map a “happy path” of tasks
Quickly outline the tasks that come to mind as you think about how the user interacts with your product. This is usually the most straightforward route — the “happy path” — to their goal.
Step 3 — Group tasks under activities
Group related tasks into activities that represent stages in the user’s path. Give each group a short description so it’s easy to discuss. Some activities have one task; others have several.
Step 4 — Organize activities chronologically
Arrange activities left to right in the order they’re likely to occur, creating a timeline that mirrors the user’s sequence. The narrative flow should read clearly from beginning to end, as if you were reading it out loud.
Step 5 — Prioritize tasks top to bottom
Under each activity, order tasks by their impact on the journey. Consider which are essential to the activity’s goal and which are supportive but not mission-critical.
Step 6 — Review and refine
Step back and review the map for gaps. Think about dependencies and alternative paths. Good questions to ask:
- What did I miss?
- What needs to happen if something goes wrong?
- What other choices could a user make along the journey?
Step 7 — Divide the map into releases
Slice the map into releases. Add a horizontal line directly below your activities and another further down. Arrange the map so only the tasks relevant to your first target outcome stay in the first swimlane, then read that swimlane left to right to confirm it’s a complete story.
Story mapping tips & tricks
- Story maps are living documents. Use them to understand your product at the start, and revisit them as you build and as strategy changes.
- Create maps collaboratively — together, not in isolation.
- Involve diverse roles. Different perspectives help you build better products (see below).
- Time-box it. Limiting your time keeps things moving and stops you getting hung up on detail.
- Talk, don’t just document. Maps exist to encourage conversation, not comprehensive tracking.
Who should participate?
It helps to include a diverse group. Consider involving:
- Product manager — steers focus toward market and user needs, ensuring the map reflects both user value and business objectives.
- UX/UI designer — brings interface and usability insight, visualizing how users interact with the product.
- Technical engineer — evaluates feasibility and implementation, grounding the map in technical reality.
- DevOps specialist — accounts for deployment, scalability, and maintenance when planning releases.
- QA tester — identifies testing scenarios and quality criteria from the outset.
- Business analyst — adds market trends, competitive analysis, and alignment to business strategy.
- Customer support — shares real-world user feedback to prioritize the right improvements.
- Sales / marketing — contributes customer insight and market demand to improve adoption.
Running a story map in CardBoard
The seven steps above are the practice; here’s how they land on the canvas.
- Lay the backbone, then the body. Activities run left to right across the top; tasks hang in columns beneath them. Use parent/child cards for sub-stories, and color for status or theme.
- Slice into releases with dividers. Each horizontal divider is a release slice, and the slice name becomes the outcome name — so the map doubles as your release plan.
- Freeze the top row (right-click an empty spot in the backbone row) so the activities stay visible as you scroll a large map, and collapse releases you’re not working on to keep it readable. Freezing the top row is available on user story maps.
- Link to your tracker once stories are agreed. Connect a card to Azure DevOps or Jira and its title and status sync both ways — see Integrations. Plan the slice in CardBoard; execute it in the tracker.
- Export and share. Export to CSV or share the board with stakeholders to keep everyone on the same map.
Story mapping (the practice) isn’t the same as the user-story-map map type (the canvas). Other map types play supporting roles — a kanban for breaking down a slice, a persona for defining the user.
Where story mapping fits
Story mapping is one shape in CardBoard’s theory of maps — the model beneath every board. And when a plan starts as an AI conversation, a spec, or a flowchart instead of sticky notes, spec mapping turns that into the same buildable story map: drawn for people, typed for the agents that build alongside you.
Learn more
Resources from product experts who teach story mapping:
- Book — User Story Mapping by Jeff Patton
- Book — Continuous Discovery Habits by Teresa Torres
- Book — Escaping the Build Trap by Melissa Perri
- Book — Coaching for Learning by Dion Stewart & Mark Kilby
- Course — Jeff Patton: Passionate Product Leadership
- Course — Angela Wick: User Story Mapping
Frequently asked questions
What is user story mapping?
User story mapping is a technique that arranges a product’s features around the user’s journey. It gives teams a visual layout of the sequence of user actions, helping prioritize development, identify gaps, and plan releases — keeping development aligned with user needs and business goals.
What tools do you need for story mapping?
You need a way to represent stories visually (sticky notes or digital cards), space to arrange them (a large wall or a digital board), and a way to detail and label them (markers or online tools). Together these support a clear, organized view of the user journey.
When is user story mapping done?
Typically at the beginning of the product development process or at the start of a new phase. It helps teams align on vision, break work into manageable components, and prioritize what to build first. It’s also revisited throughout development to reflect changes, new insights, and feedback.
How long does story mapping take?
A session usually ranges from a few hours to a full day. Larger or more complex projects may need multiple sessions over several days. The process is adaptable, and teams commonly update the map throughout the project to reflect new insights.
What’s the difference between user story mapping and a product backlog?
Both are agile tools with distinct purposes. User story mapping creates a visual representation of the user journey, organizing stories across a timeline to show how features interconnect — a strategic overview that aids prioritization. A product backlog is a prioritized, more linear list of tasks (stories, bugs, enhancements) for day-to-day execution. Story mapping gives the strategic overview; the backlog provides the tactical, ordered list.