Using Custom Annotations

We’ve added a new feature to customize your boards even more. CardBoard now supports custom annotations. Annotations provide a clear visual to the front of your cards to give your board more ways to collaborate real-time, visualize your stories, and give your team more shared understanding.
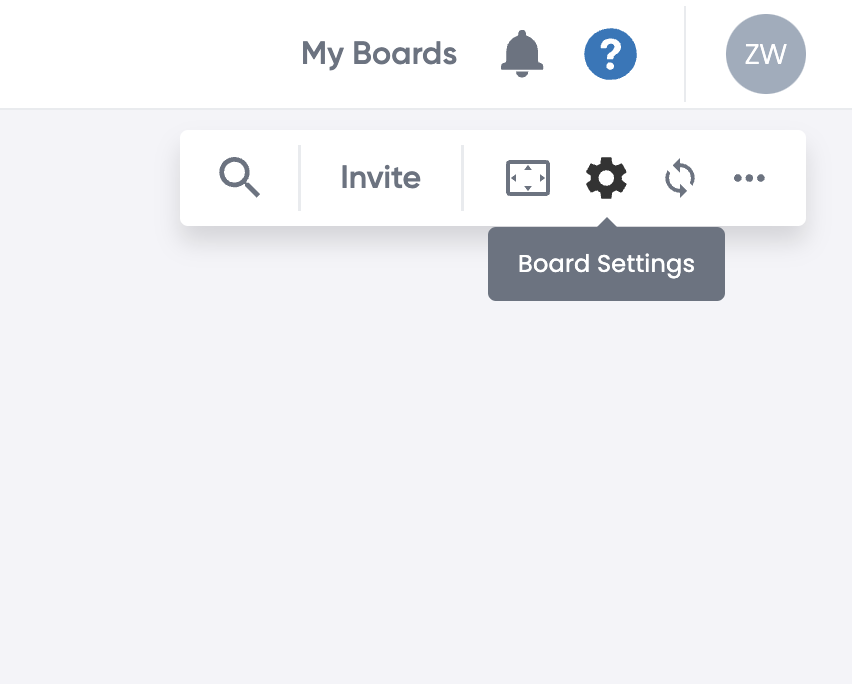
To use custom annotations, head up to the settings icon.
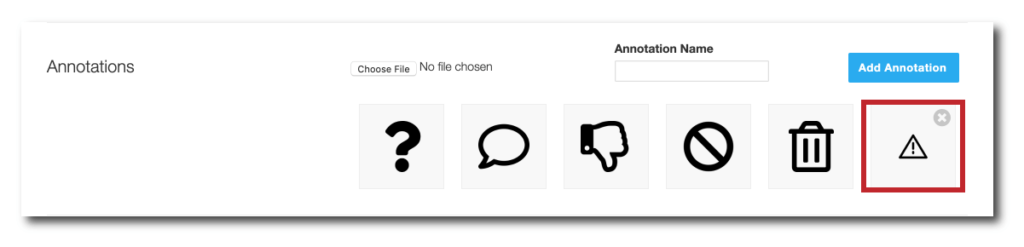
Scroll down to the bottom of the screen and you will see the new section for annotations.
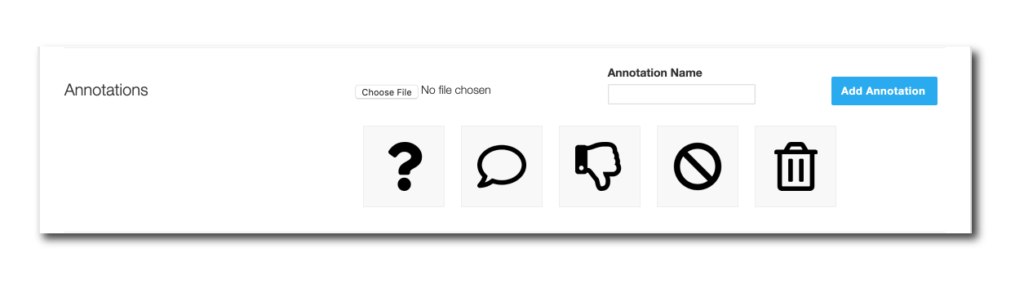
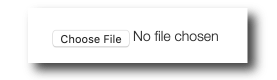
Chose your file. For our we selected an icon to denote risk.
We found the icon used on The Noun Project a website that aggregates and catalogs symbols that are created and uploaded by graphic designers around the world.
You can upload your own photos or find photos online to use.
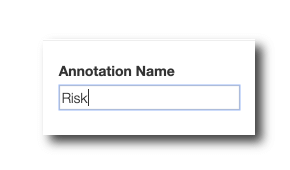
Name your icon. For ours we went with “Risk.”
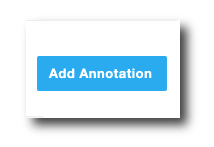
Click “Add Annotation.”
Now, in the same window you will see the icon added to your Annotation Library.
Once you’ve exited this menu, head back to your board.
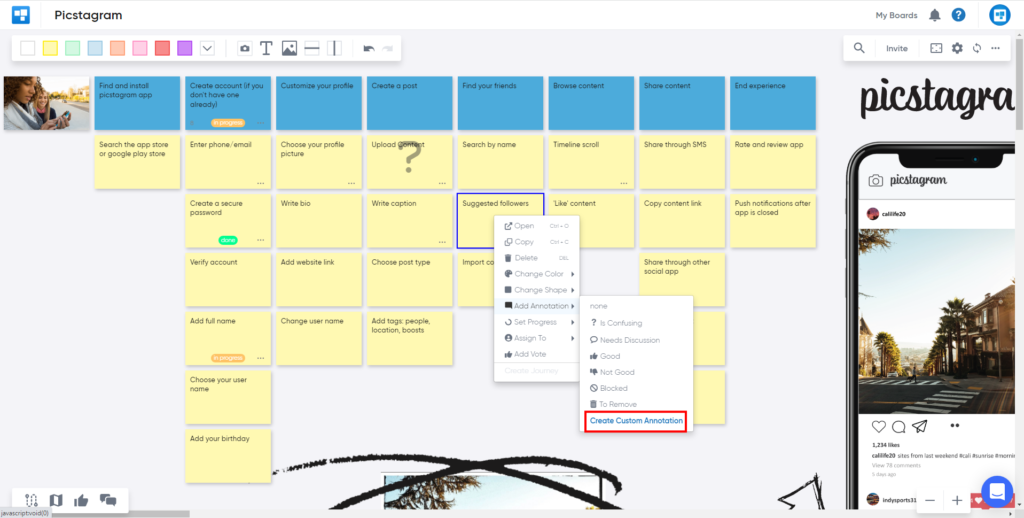
Select the card you would like to annotate, right click > Add Annotation > then select your icon. In our example we chose “Risk.”
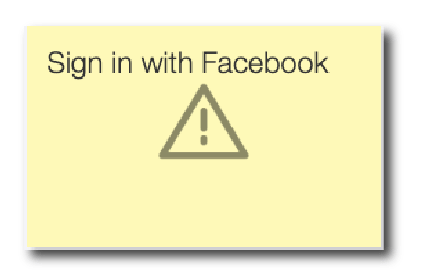
Now, your card selected will have the new annotation on the front of the card.
Create better conversations with your team members by adding annotations.
Didn’t find what you need? Visit our Help Center to find answers or get in contact with our team.
Ready to try CardBoard for yourself? Sign up to start your 14 day free trial!